Starting the PGEM Tool
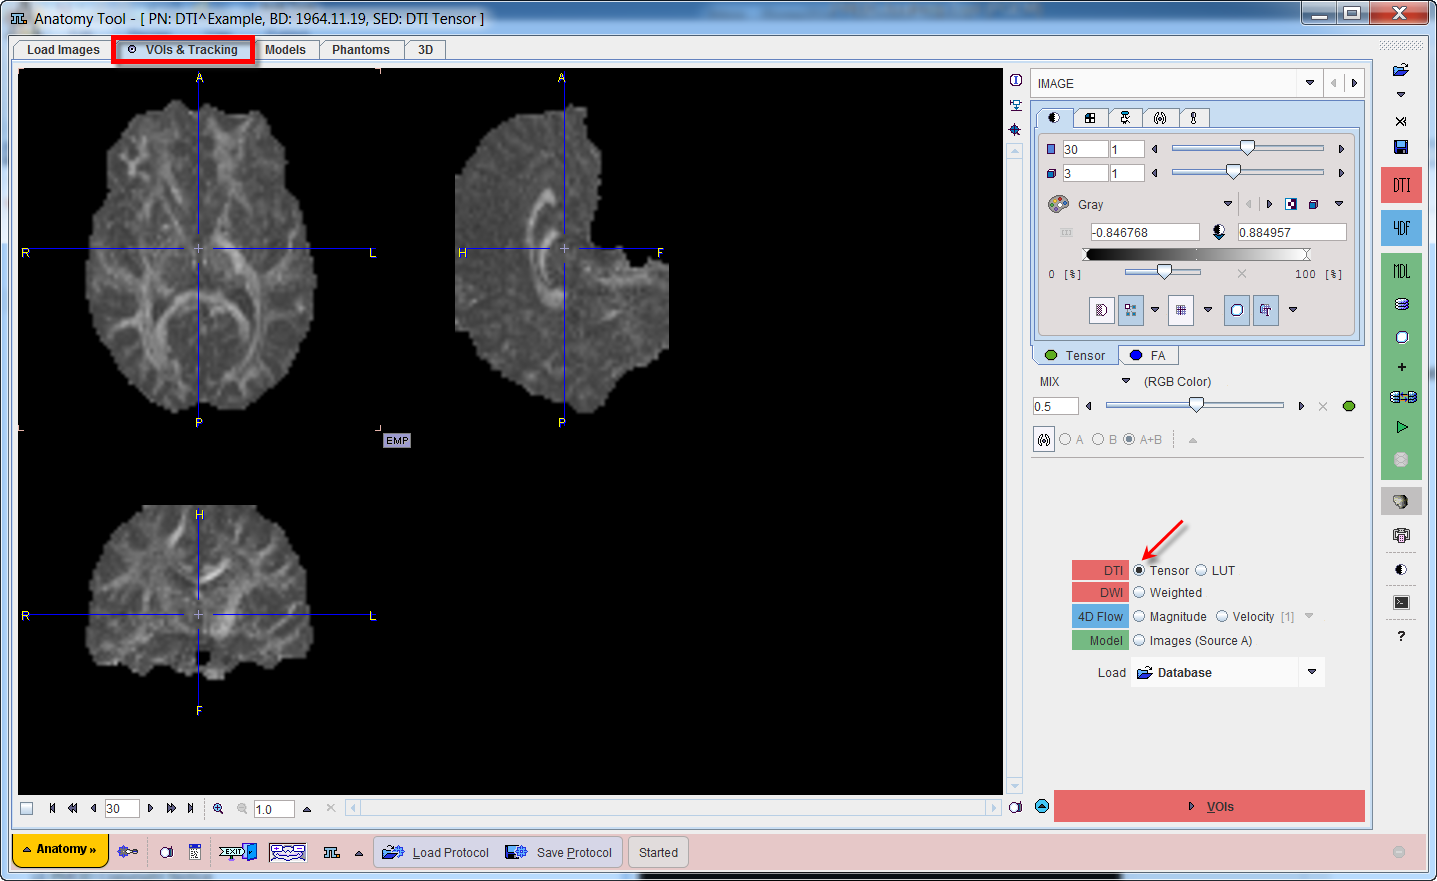
The PGEM tool is started with the Anatomy button from the PMOD Toolbox:

The user interface of PGEM consists of five pages which can be selected by tabs:

Workflows
The main workflows share the pages. Color coding is therefore applied for highlighting the elements belonging to a certain workflow: red for DTI, blue for 4D Flow, green for anatomical model definition and CFD simulation.
Taskbar
The taskbar to the right of the application window provides shortcut buttons for frequent tasks. Please note the tooltips when hovering over the buttons.
|
Load images. The arrow below the loading button allows changing the data format. |
|
Clear all data. |
|
Save results. A dialog window appears for selecting the relevant parts and defining the output format.
|
|
Start DTI workflow by loading tensor images. |
|
Start 4D Flow workflow by loading MR images with 4D flow information. |
|
Start model construction workflow by loading anatomical images. |
|
Create a new anatomic model. |
|
Open the VOIs panel on the VOIS & Tracking page. |
|
Load VOIs from a file and add them to the current model |
|
Open the manager of the remote OpenFOAM cases.
|
|
Open the manager of the local OpenFOAM cases.
|
|
Allows viewing linked CFD case. |
|
Rendering the selected model structures in 3D. |
|
Aggregation of VOI statistics results for 4D Flow. |
|
Hide the control area for more image space. Activate again to show controls again. |
Hidden Controls
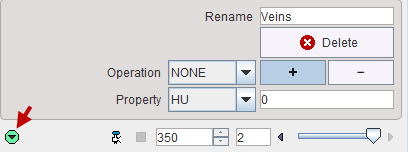
In some places options are hidden to save screen space. This is indicated by a blue up-arrow as in the example below.

When the button is activated, the area expands, showing all the options. It can be collapsed again with the green down-arrow.
